This article explains how to use Recuva to recover data from a non-working computer.
First, you need to access the hard drive of the non-working computer. To do this, remove the hard drive from the computer and connect it to another working computer.
On the working computer, download and install Recuva. Make sure the program is installed on the computer to which you connected the hard drive.
Launch Recuva and select the type of files you want to recover. These can be images, documents, videos, and other types of files. If you want to recover all types of files, select the appropriate option.
After selecting the file type, specify the location for the search. Choose the connected hard drive as the search source.
Click the button to start scanning. Recuva will begin the process of searching for deleted files on the specified hard drive.
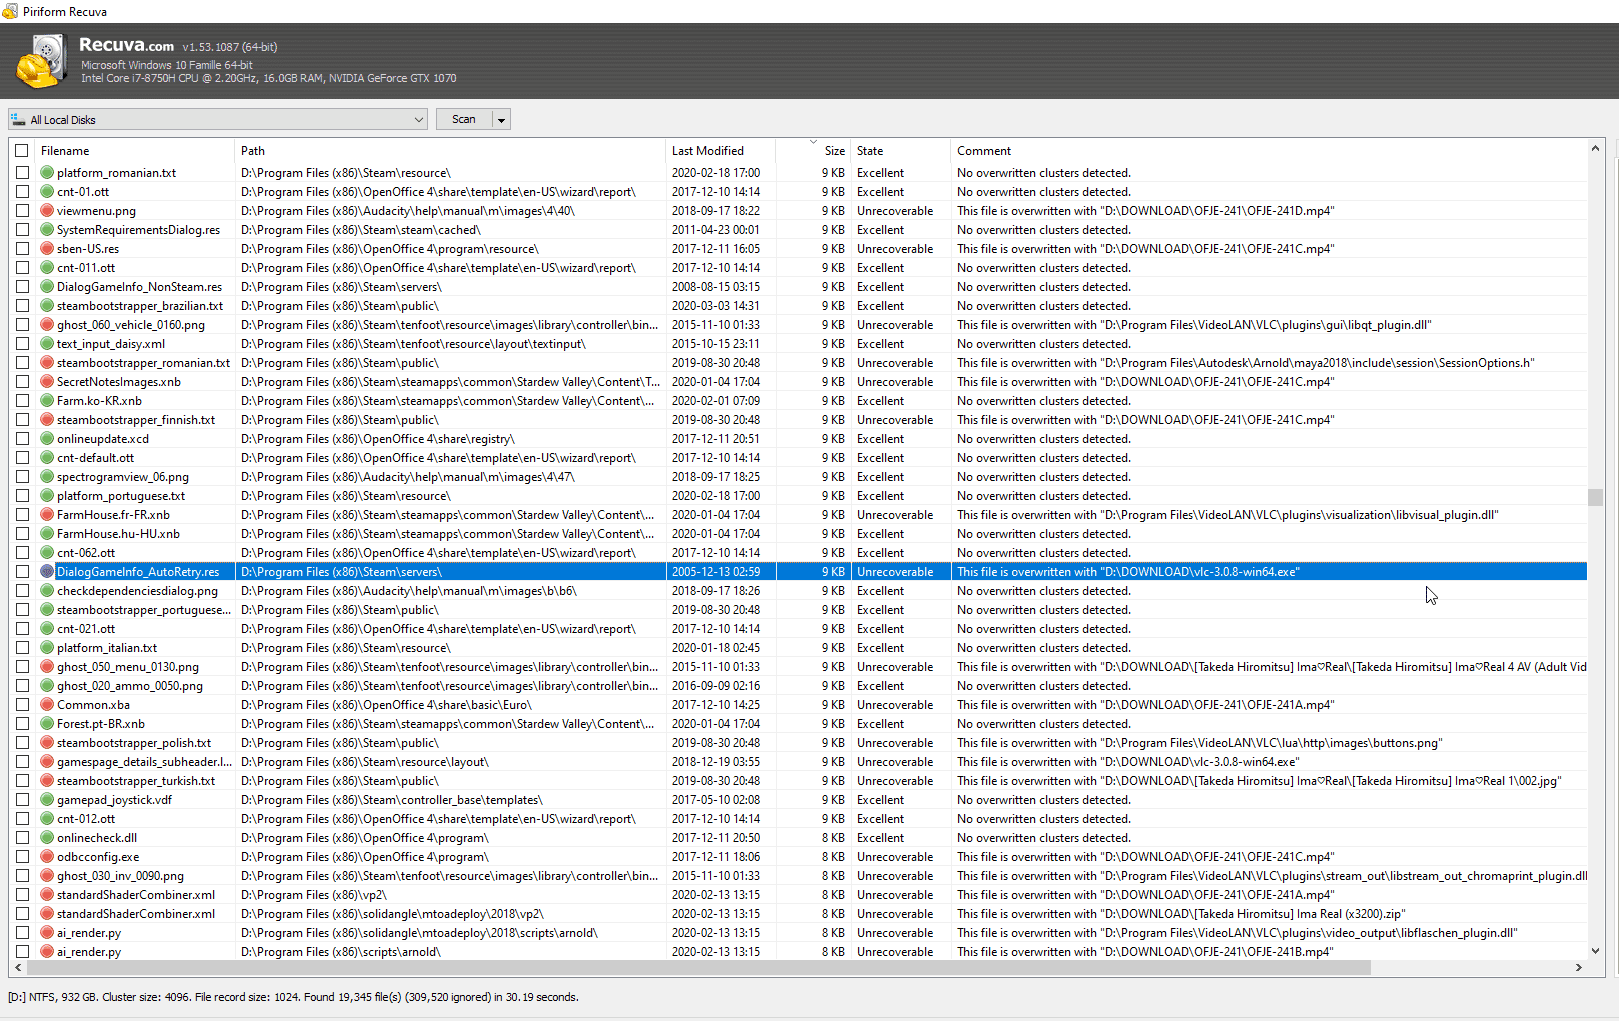
When the scan is complete, Recuva will display a list of found files. You can preview some types of files to ensure they are the ones you want to recover.
Select the files you want to recover and click the button to recover them. Specify a location on the working computer to save the recovered files. It is recommended to save the files to another drive to avoid data overwriting.
After the recovery process is complete, check the recovered files to ensure they are functional. You can now copy them back to the hard drive of your computer or save them on another storage medium.