Before launching Recuva, taking preliminary steps is critical for maximizing the chances of a successful outcome. Immediately cease all use of the drive from which the partition was deleted. Any writing of new information—installing software, saving files, or even booting the operating system—can overwrite sectors containing your original data, making recovery impossible. Install Recuva on a different physical drive or an external USB drive to perform the procedure. Prepare a target drive with sufficient free space for the restored files; this must be a physically separate drive from the one being recovered.
Launching the Wizard and Selecting File Type
Upon launch, Recuva initiates its built-in recovery wizard. The first step prompts for the file type to search for. Selecting a specific category—Pictures, Documents, Music—optimizes the scanning algorithm for the signatures of those formats, speeding up the process and improving accuracy. For a comprehensive search of all possible information, including fragmented or typeless data, choose the All Files option. Community guidelines often recommend starting with a selective scan for a specific file type before proceeding to a full search if needed.
Specifying the Location of the Lost Data
Specifying the location is a crucial step. Since the partition was deleted, its drive letter and label are absent from the system. In this case, select the option On my media card or iPod (in recent versions, this may be phrased as On my media or similar), then from the dropdown list, choose the physical disk (e.g., Disk (C:), Disk (D:)) where the deleted volume previously existed. This method is primary when dealing with a RAW file system. Correctly identifying the required physical media based on its capacity and model is essential.
Enabling Deep Scan Analysis
The next dialog window offers to enable the Deep Scan option. The standard scan analyzes the file table, which is often damaged or erased when a partition is deleted. Deep scan ignores tables and performs a sector-by-sector scan of the entire drive, attempting to identify files by their headers (signatures). This takes significantly longer—hours for large HDDs—but is the only effective method for serious partition structure damage. Official instructions state that skipping this step when recovering after volume deletion almost always yields no results.
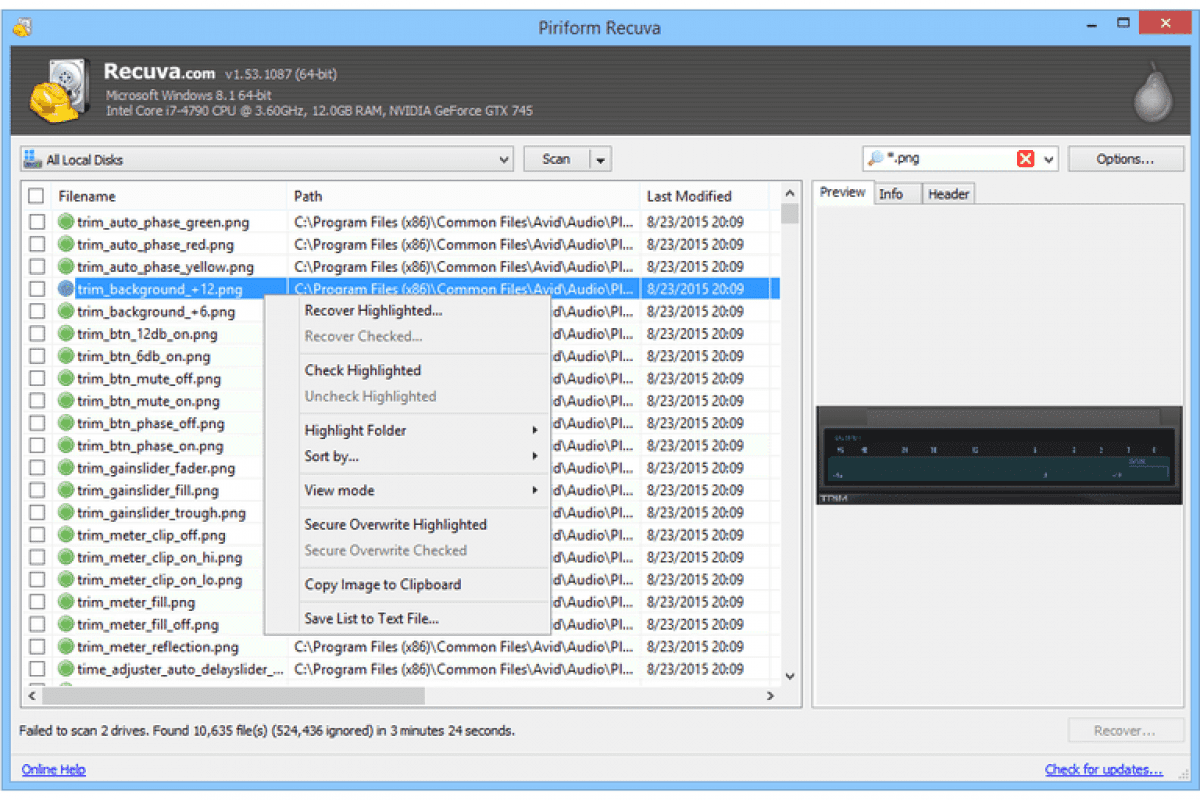
Analyzing Results and Recovering
Upon scan completion, Recuva displays a list of found objects. A color indicator (green/yellow/red) shows the predicted file state.
- Use the built-in filter to sort by type, size, or status.
- The Preview function allows viewing the contents of found images or documents directly within the program's interface to check integrity.
- Select the required files and click Recover.