Recovering files from a malfunctioning media device demands precise adherence to procedure and an understanding of the underlying process. Recuva handles this task effectively when the storage medium is detected by the operating system.
Preparation and Device Connection
The initial step involves physically connecting the iPod or MP3 player to the computer using its original USB cable. If the device fails to be recognized:
Test all available USB ports, prioritizing those directly connected to the motherboard, avoiding external hubs.
Certain iPod models may require being placed into Disk Mode by holding the ‘Menu’ and ‘Select’ buttons during connection.
If the computer makes a connection sound but the device doesn't appear in ‘My Computer’, check for it in ‘Disk Management’ (diskmgmt.msc). Its presence there as a ‘Removable Device’ without a drive letter is a positive indicator.
Configuring Recuva for External Drive Recovery
Launch the Recuva wizard. After the welcome screen, specify your file type. Selecting the Other category is advised for the first scan, as players often use proprietary file extensions and folder structures. The critical step is choosing the file location. Instead of analyzing a specific folder, select the On my media device option and manually designate the drive letter corresponding to your player.
Initiating a Deep Scan and Analyzing Results
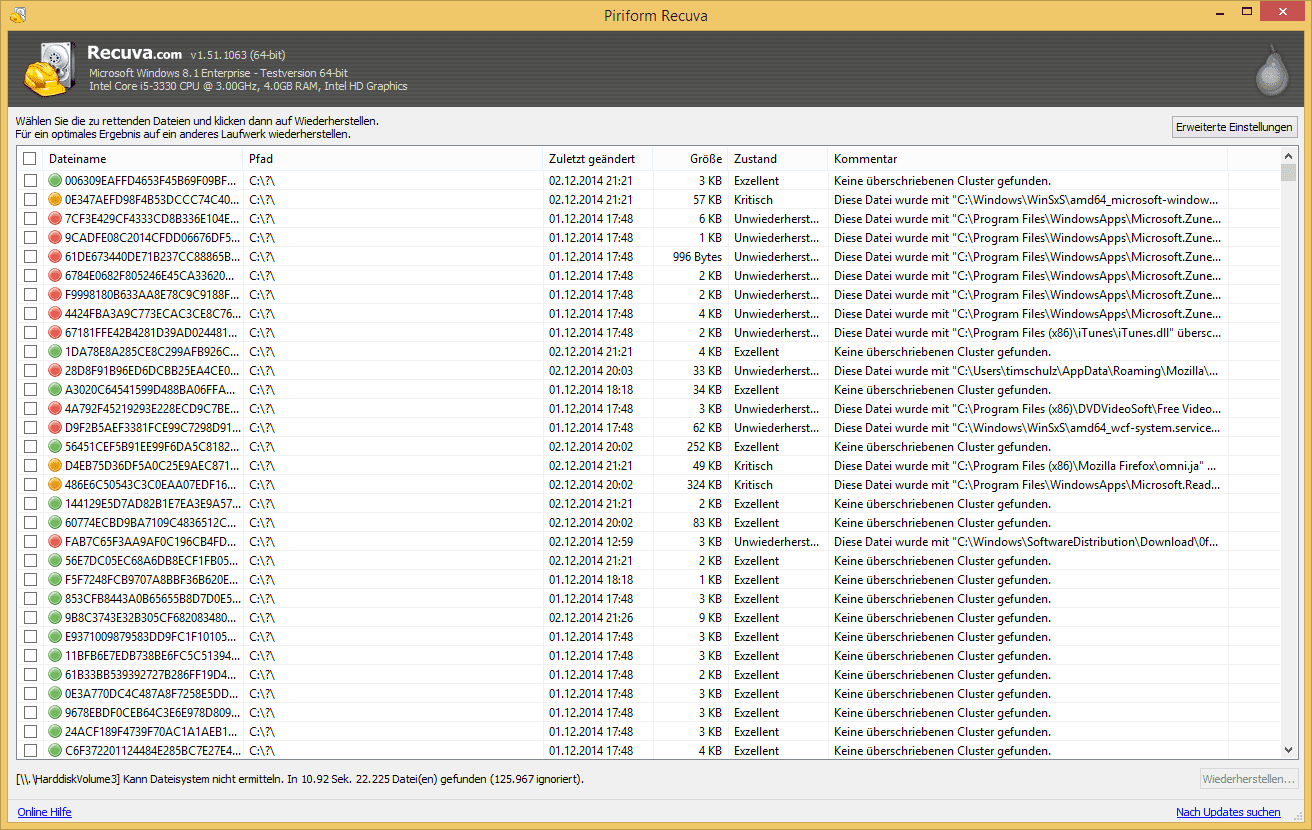
Enabling the Deep Scan option is crucial for damaged or formatted storage. This mode ignores the file system and searches for data based on file signatures (headers), a more time-consuming method that yields results where a quick scan fails. During the process, Recuva displays found files. Pay close attention to the color-coded indicators of their status:
Green: High probability of complete recovery.
Yellow: Data is partially overwritten; recovery may be possible but corrupted.
Red: The file is irreversibly damaged.
Before final recovery, use the Preview function for critical files to verify their integrity.
Recovering and Saving Data
Select the desired files and initiate the recovery process. Never save files directly back to the source device. This action can overwrite data that hasn't been recovered yet. Specify a path to an empty folder on the computer's internal drive. Upon completion, thoroughly inspect the recovered files, especially audio tracks, for correct playback and absence of artifacts. For subsequent attempts, you can repeat the scanning process with different file types specified for a more targeted search.