Data recovery on a Mac using Recuva requires creating a Windows virtual environment, as this software is designed exclusively for the Microsoft operating system. This method involves using virtualization software.
Preparing the Windows Virtual Environment
The first step is to install a virtualization platform. Parallels Desktop is one solution, but VMware Fusion or VirtualBox are also suitable. The process involves downloading a Windows distribution from the official Microsoft website. Creating a virtual machine requires a valid Windows license or the use of a trial version.
After installing the virtualization software, create a new virtual machine and install Windows, following the setup wizard instructions. For Recuva to run smoothly, it is recommended to allocate at least 4 GB of RAM and 2-3 processor cores to the virtual machine.
Installing and Configuring Recuva
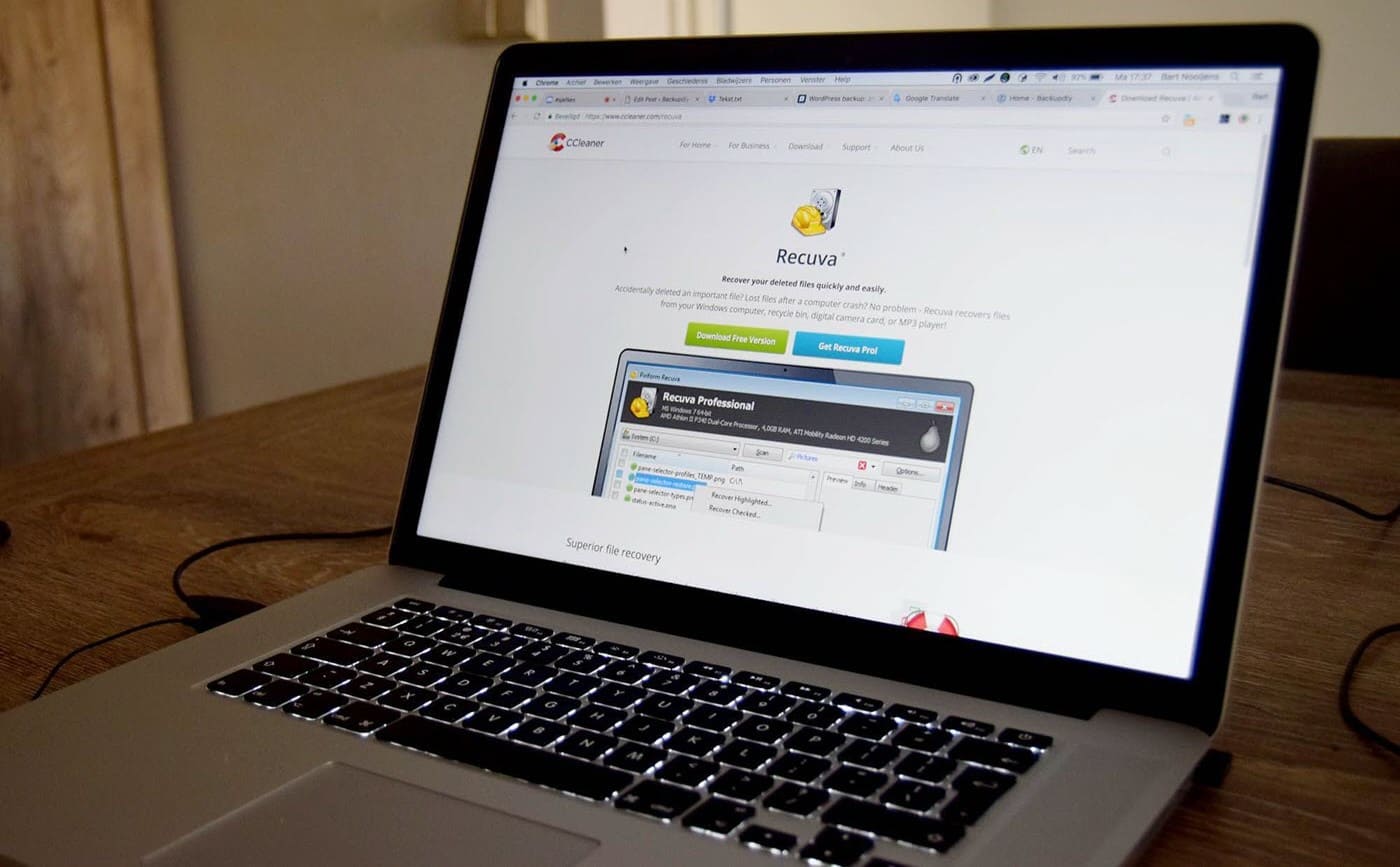
Start the virtual machine with Windows installed. Download the Recuva installer from the official developer website, Piriform. Install the program within the virtual Windows environment, accepting the license agreement.
Before starting data recovery, ensure the virtual machine can access Mac drives. In Parallels Desktop settings, activate shared folders or disk access mode. This will allow Recuva to scan macOS partitions. Some users note that direct disk access can be limited, so an alternative is to copy a disk image into the virtual environment.
The Data Recovery Process
Launch Recuva within the virtual machine. In the recovery wizard, specify the type of files to search for: documents, images, videos, or others. For a deep analysis, select the deep scan option, although this process will take longer.
A crucial point is selecting the correct disk to scan. For the file location, specify the mounted macOS disk or a shared folder. Recuva will begin analyzing the file system, searching for signatures of deleted data.
Important considerations:
- Recovering data directly to the original disk increases the risk of overwriting it. Always save found files to the Windows virtual disk or an external drive.
- The chances of successful recovery decrease if data has been actively written to the Mac's physical disk after the files were deleted.
- Recovering data from formatted drives or damaged partitions may require professional tools.
After the scan is complete, Recuva will display a list of files with a color indicator of their state: green for good, yellow for fair, and red for a low chance of recovery. Review the found files, using the built-in preview for images and documents. Select the necessary files and click "Recover," specifying a safe location for saving.
Alternatives and Conclusion
Using Recuva through a virtual machine is a functional but not the most efficient method for macOS. Users on forums and in reviews often mention native solutions like Disk Drill or PhotoRec, which run natively in the macOS environment and support APFS and HFS+ file systems.
This method is suitable for one-time recovery of specific files. For regular backup and data protection, using Time Machine or cloud services is recommended.