This article will guide you on how to recover data after a system crash using Recuva. The step-by-step instructions will help you retrieve lost files.
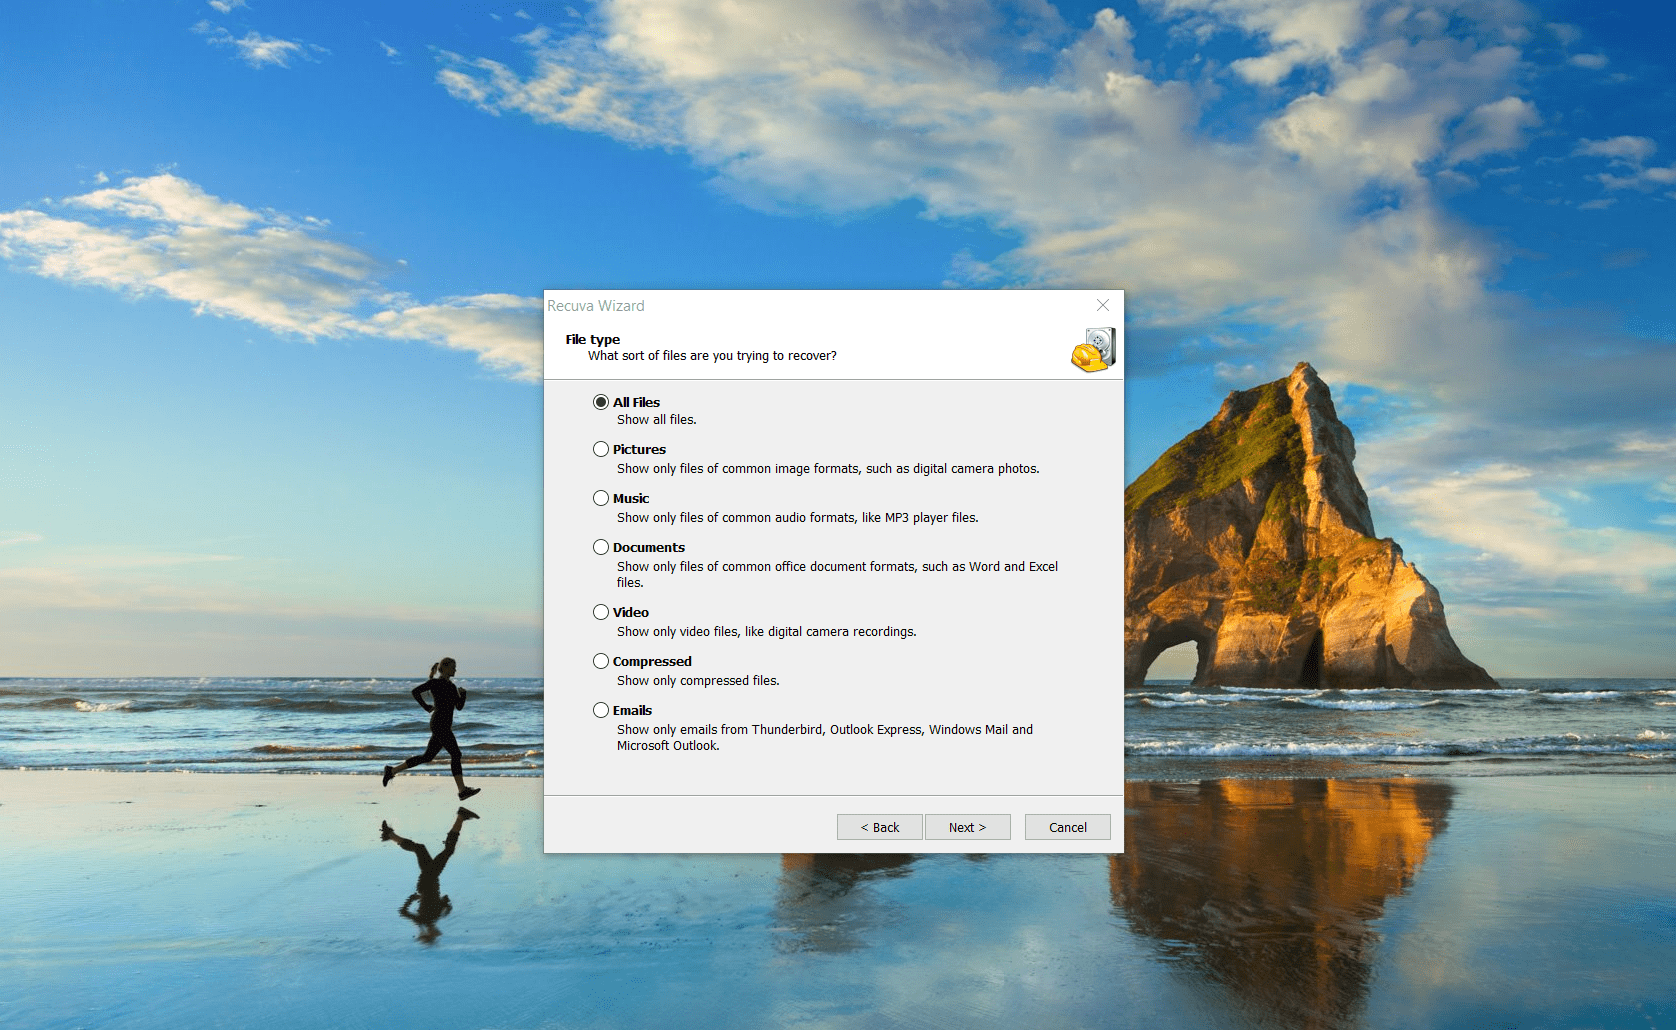
After installing and launching Recuva, you will be greeted by the recovery wizard. Click the Next button to start the process. On the next step, select the type of files you want to recover. If you want to recover all types of files, select All Files.
Next, specify the location where the lost files were. You can choose a specific place on the disk or indicate that the exact location is unknown. If you are unsure, select I'm not sure, and Recuva will perform a full scan.
Before starting the scan, you will be offered to perform a deep scan. This mode is more thorough but takes more time. If files are not found during a regular scan, activate the deep scan by selecting Enable Deep Scan and click Start.
Wait for the scan to complete. Upon completion, you will see a list of found files. You can sort them by name, location, state, and other parameters. For convenience, you can use the filtering function. Check the files you want to recover by ticking the box next to each one.
After selecting the necessary files, click the Recover button. You will be prompted to choose a place to save them. It is important to choose another disk or external media to avoid overwriting the lost data. Confirm your choice, and the recovery process will begin.
Wait for the recovery process to complete. At the end, you will receive a message about its completion and can go to the folder with the recovered files.
These step-by-step instructions will help you efficiently recover lost data using Recuva after a system crash.