This article explains how to use Recuva to recover damaged files and fix errors on a hard drive.
Select the type of files you want to recover. These can be images, documents, videos, or other types of files. Click Next and select the location where the lost files were before deletion. This could be a specific folder, recycle bin, memory card, or other storage device.
After selecting the location, click Next and choose the Enable Deep Scan option. Click Start to begin the scanning process. Wait for the program to complete the analysis of your disk.
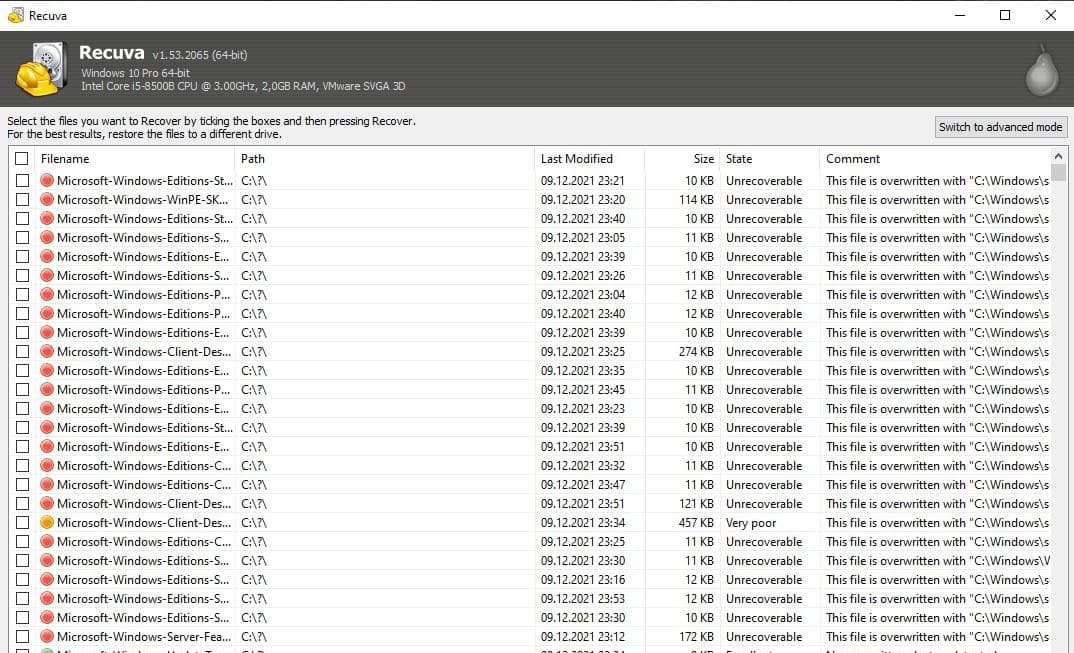
Once the scan is complete, a list of found files will appear. Check the boxes of the files you want to recover and click Recover. Specify the location to save the recovered files. It is recommended to choose another device or partition to avoid overwriting data on the original disk.
In addition to recovering files, Recuva can also help fix errors on the hard drive. To do this, open the program and go to the Tools section. Select the Check Disk option. Choose the disk you want to check and click Start Check. The program will analyze the disk for errors and suggest options for fixing them.
After the check is complete, the program will show a report of the found errors and suggest options for fixing them. Follow the on-screen instructions to fix the errors and improve the performance of your hard drive.
Now you know how to use Recuva to recover lost or damaged files and how to fix errors on the hard drive using built-in Windows tools.