In this article, we will guide you through the process of using Recuva to recover your files.
Step 1: Download and Install Recuva
To use Recuva, you first need to download and install the program from our website. Follow the instructions provided by the installation wizard to install the program on your computer.
Step 2: Select the Type of File You Want to Recover
When you open Recuva, the program will ask you to select the type of file you want to recover. You can choose from several options, including pictures, music, documents, videos, and others. If you are not sure which file type you need to recover, select the "All Files" option.
Step 3: Choose the Location to Search for Files
Recuva will then ask you to choose the location to search for files. You can select a specific drive or folder, or you can choose the option to search the entire computer. If you are not sure where the lost files are located, select the option to scan the entire computer.
Step 4: Run the Scan
Once you have selected the file type and location, click on the "Scan" button to start the scan. Recuva will then scan the selected location for any files that match the selected file type.
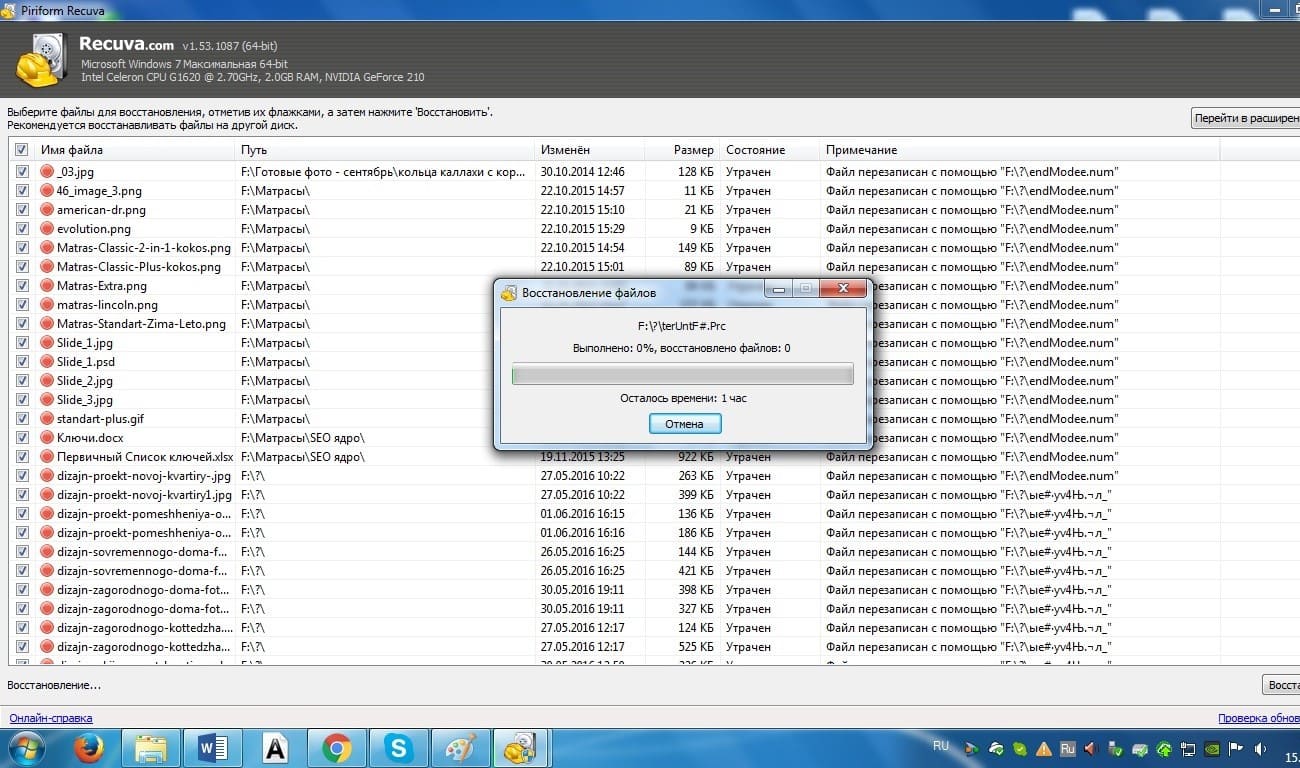
Step 5: Preview and Recover the Files
After the scan is complete, Recuva will display a list of files that it has found. You can preview the files by selecting them and clicking on the "Preview" button. If you want to recover a file, select it and click on the "Recover" button. Recuva will then ask you to choose a location to save the recovered file.
Step 6: Save the Recovered Files to a Different Location
When you recover files using Recuva, make sure to save them to a different location than the original storage device. This will prevent overwriting and further damage to the lost files.
By following these simple steps, you can use Recuva to recover your lost or deleted files. Remember to be patient during the scan process, and avoid using the storage device until after the recovery process is complete. With Recuva, you can recover your files and get back to your work in no time.